In my childhood years, summer time meant canning time. My mother grew a very large garden on the farm/ranch I grew up on. She had a lot of mouths to feed and a lot of free labor! We canned all kinds of vegetables. What we couldn’t eat fresh, we froze or canned for the off season.
Unfortunately, I live in the city now so large gardens are a thing of the past for me. However, every once in a while, I get my hands on homegrown cucumbers or tomatoes and enjoy the nostalgia of my youth. Thanks to my sister-in-law who grew a great backyard garden this year, I got plenty of cucumbers. (She also recently gave me a ton of tomatoes from her mother so look for my salsa blog soon.)
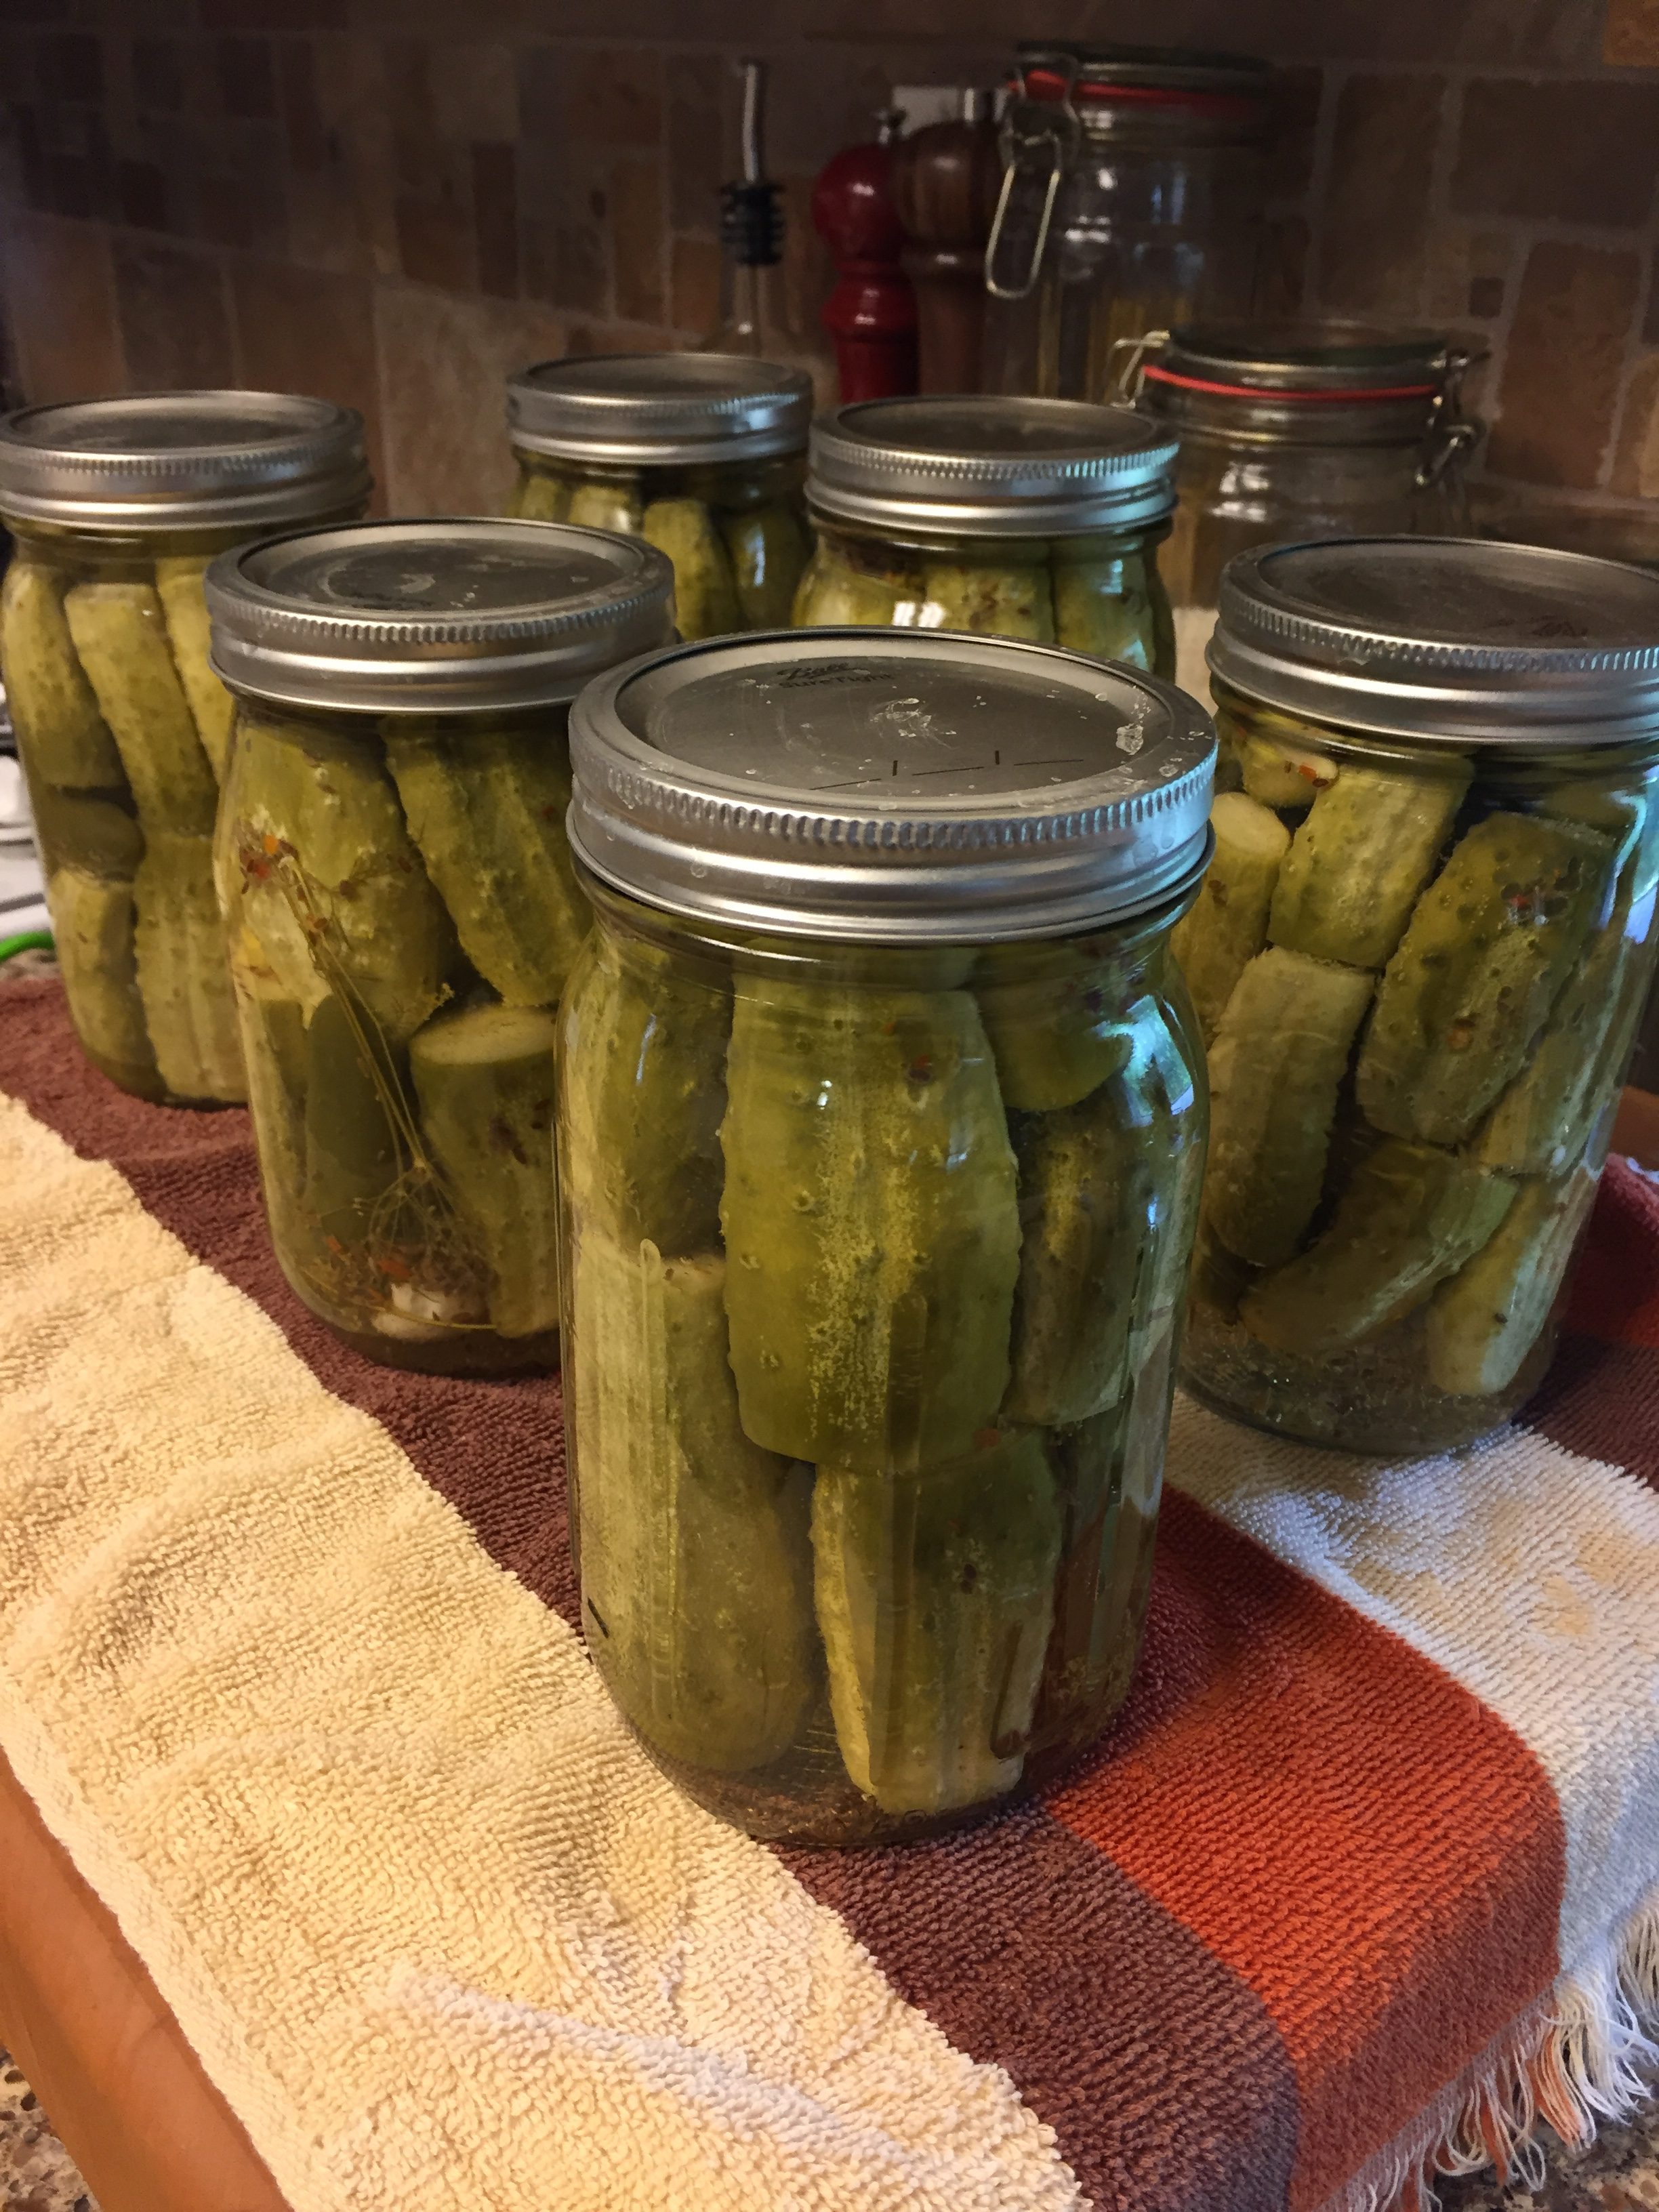
Canning can be intimidating to those who have never done it before. However, if you want to try to preserve something for the first time, you can start with something simple like dill pickles.
The only special equipment you need is a canner with rack. This set includes a few other extra things like the funnel (for salsa and relishes) and jar lifter which are not necessary but I do find more useful than a ladle or tongs.

For dill pickles, you will need cucumbers, garlic, jalapeños or serrano peppers, dill or dill seeds or both, black peppercorns, red pepper flakes (for spicy), vinegar and pickling salt. Also, some clean wide mouth quart jars. I usually clean these in the dishwasher but you can also wash by hand.

To get started, fill canner about two thirds of the way with water, cover and bring to a boil. Add the empty quart jars to the boiling water and allow to sterilize for about 5-10 minutes. Take the jars out and allow them to dry on a dishcloth.

While your water is coming to a boil and the jar sterilization is happening, wash and sort your cucumbers. Smaller cucumbers will be pickled whole and the larger cucumbers will be “speared” by cutting lengthwise into 4 or 6 spears depending on cucumber size. You can also slice cucumbers for hamburger dill slices.

You will also want to cut just the tip off both ends of the cucumbers. I do this because I read recently the enzymes found in the bloom end of a cucumber will make the pickle less crunchy. So you really only need to cut off the bloom end but I am not going to take the time to figure out which end is which so I just cut both ends. I don’t remember us doing this when I was young so do this or don’t. You won’t hurt my feelings!

In a large pot, make the brine which consists of water, vinegar and pickling salt. Bring to a boil and then turn off.

In a third pot, simmer the lids with rings. I just keep these simmering on the stove top back burner until needed.

So at this point, your stove is full. Canner is constantly boiling hot water. A large pot has the brine and the smaller pot is simmering with the lids/rings.


Now here is where the fun begins. Drop a clove of garlic, a whole serrano (or a half sliced down the center) some dill weed, dill seed, black peppercorns, crushed red peppers or whatever combo you want in the bottom of the jars. Make as spicy or as basic as you want. For plain dill pickles, just use the dill weed, dill seed and garlic clove. I add the peppercorns to some, red pepper flakes to others and I usually add a serrano pepper as well to each jar. Just do you!

Next, stuff those jars as best and as tight as you can with cucumbers. When you think you have enough, add a couple more!

Then I add another sprig of dill. I use the dill heads too. I love the smell of dill!

Line up the jars next to your brine pot and start to fill.

I just dip a glass measuring cup into the brine and fill up the jar.

I fill jar to about 1/2 inch from the top of the jar. Once all jars are filled, use a paper towel and wipe the rim off each jar so the lid makes a tight seal.

Using a pair of tongs, grab a ring and lid and place it on the jar. Be careful not to touch any part of this until it’s on the jar because it’s hot and it’s also sterilized.

After I place lid/ring on each jar, I tighten them up. No need to go crazy, just tighten till snug.

With the rack in the “up” position on the canner, load the jars of pickles.

Carefully lower the rack into the water so jars are submerged. Place the lid on canner and let process for 20 minutes.

Once processing is over, use jar lifter or tongs to carefully remove jar to a dishcloth covered countertop. Not going to lie, the jar lifter for wide mouth and heavy quart jars is truly the way to go!

Once the pickles are out of the canner, you will hear one of the best sounds of summer, the pinging seal of the jars! You will hear these popping sounds which ensures that all jars are sealed properly. The top of the jar is sealed when the lid is inverted. It should seal on its own. If it does not seal after several hours, just refrigerate that jar. There is nothing wrong with the pickles inside but they will not store in your pantry if not properly sealed. Give it a week or so and you should be able to enjoy the pickles from that first jar.
As always, if you want to try the process and have questions, let me know in the comment section. I will do my best to answer.
Good luck and Happy Summer!

Dill Pickles
Ingredients
- cucumbers
- dill weed, heads, and stems if using
- 7 tsp dill seed if using
- 14 garlic cloves
- 7 jalapeno or serrano peppers optional
- 9 cups water
- 2 1/2 cups vinegar
- 1/2 cup pickling salt
Instructions
-
Before filling the jars, get the 5 following instructions completed.
1. Fill canner about 2/3 full with water and bring to boil. The canner lid should stay on because the canner will continue to boil throughout the entire pickling process.
2. Wash jars in soapy water (or in dishwasher). Sterilize jars in boiling water in canner for 5 minutes. Remove and set aside.
3. In a medium saucepan, fit lids and rings together and place in pan, cover with water and bring to a simmer.
4. In a large saucepan, bring 9 cups water, vinegar and salt to boil. Turn off heat and set aside.
5. Wash and sort cucumbers by size. Smaller cucumbers process whole, larger ones can be speared or sliced.
-
Once all 5 above instructions are completed, fill the sterilized jars with a clove of garlic and some dill weed with head and stem. (If you don't have fresh dill weed, just use 1 teaspoon of dill seed instead). If you have only a small amount of dill weed use both dill weed and seed.
You can also add 1/4 tsp crushed red pepper or peppercorns or a jalapeno or serrano pepper to each jar. Seasonings are optional.
-
Then stuff cucumbers in jars. Whole cucumbers should be jarred together, speared cucumbers should be jarred together and if doing sliced, should be jarred together. Do not mix the different styles of cucumbers. Stuff jars very tightly so that the cucumbers can not be moved. Make sure all cucumbers go only to the neck of the jar.
-
Add another garlic clove and sprig of dill (if using the weed) to the top of the cucumbers.
-
Once the jars are loaded tightly with cucumbers and seasonings, pour brine over each jar leaving half inch space at the top of the jar. Make sure the rim of the jar is wiped clean so lids fit securely.
-
Using tongs, remove lid/ring from simmering water and place on each jar. Tighten snugly and evenly.
-
Place the jars into the canner (which should still be boiling) and place lid on canner. Process for 20 minutes. Remove jars to dish cloth covered countertop. Allow to cool.
-
Check for seal. The indented lid should be sealed and inverted. If not, refrigerate that jar and use first. All sealed jars can be stored in pantry.
Reader Comments