Merry Christmas!
My good wishes come early but I wanted to share one final holiday blog of some cookies Jordan and I decorated for family, friends and coworkers. Decorating cookies has become a holiday tradition. It’s so much fun for us!
A few tips for cut out cookies…
I use Americolor or Wilton gel food coloring. The colors darken several shades as they dry.
Before I start on any cut out cookie, I trace out the cookie cutter onto drawing paper several times and use colored pencils, crayons or markers, to draw and color the cookie shape in different ways until I find one I like best. This “template” helps me start with a guideline before working with icing. The final product may still look a little different from the drawing , but that is okay! My Santa shape took a twist when I started piping different ways around the beard and hat.
Another tip, once you cut out your cookie dough into shapes, always place them in the freezer for about 5-10 minutes prior to baking. This keeps the cookies from spreading. I usually have one cookie sheet at the table where I am cutting out, another in the freezer waiting to be baked while the third sheet is baking.
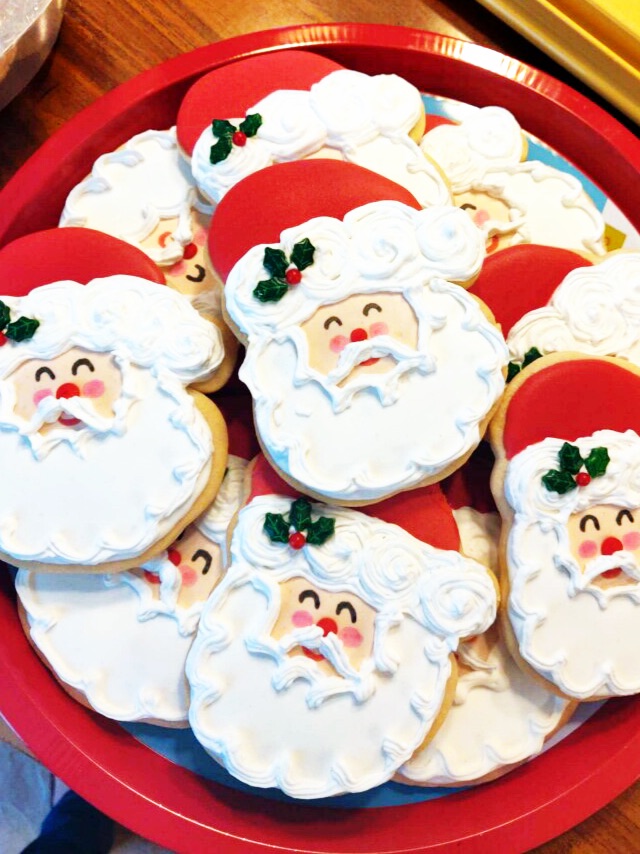
Here’s the process for making the Santa cookie. He seems to be the favorite cookie everyone wants to take from the platter. Refer to Decorating Cut Out Cookies blog for recipes and icing consistency.

To start, flood the hat area and the face and let it dry for a little while before moving to next step. (The template helps with placement.)

Add the white to cover the rest of the cookie and allow to completely dry overnight.

Using food approved markers, draw in eyes, cheeks and lips. I piped the nose with red icing.

Next, pipe white icing around hat trim and beard using Wilton tip #16.

Finally, fill in the hat trim and add a mustache to Santa. I embellished the hat trim with some holly leaves and berry. You can use icing or the holly sprinkles.
Here’s some other cut out cookies we decorated.

We thought the Ugly Christmas Sweaters turned out rather cute! We couldn’t decide which was our favorite.

For the trees, Jordan flooded the cookies in green and allowed them to dry. She then piped the tree trunk brown and added a black cord with a Wilton #1 tip. Finally, she added some cute little light shaped candies for the light bulbs and star using the royal icing as “glue” to adhere the candies to the cookies. You can also use mini M&M’s placed on their side.


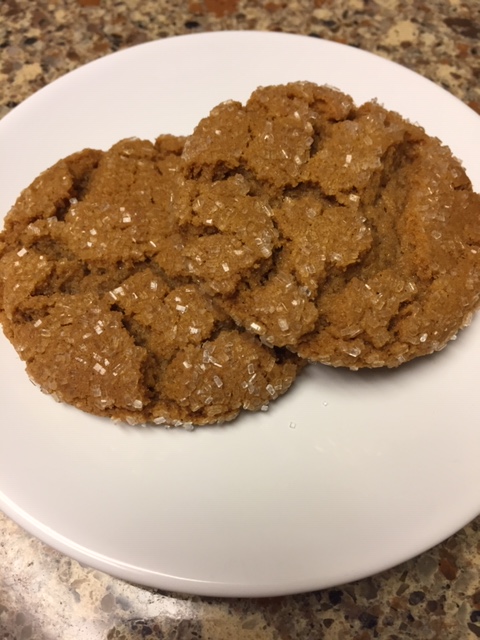
We loved Anne’s Soft Ginger Cookie recipe that I blogged a few weeks ago so much that I altered the recipe and made them into cut out cookies so we could make gingerbread men and reindeer. I halved that recipe to make only 24 cookies, used butter instead of shortening and added an extra 1/2 cup of flour. Be sure to refrigerate dough prior to rolling out and freeze after cutting out the shapes. (So for the half recipe I used 2 3/4 cup flour total.) We loved how cute they turned out!

Our complete stash of baked goods!


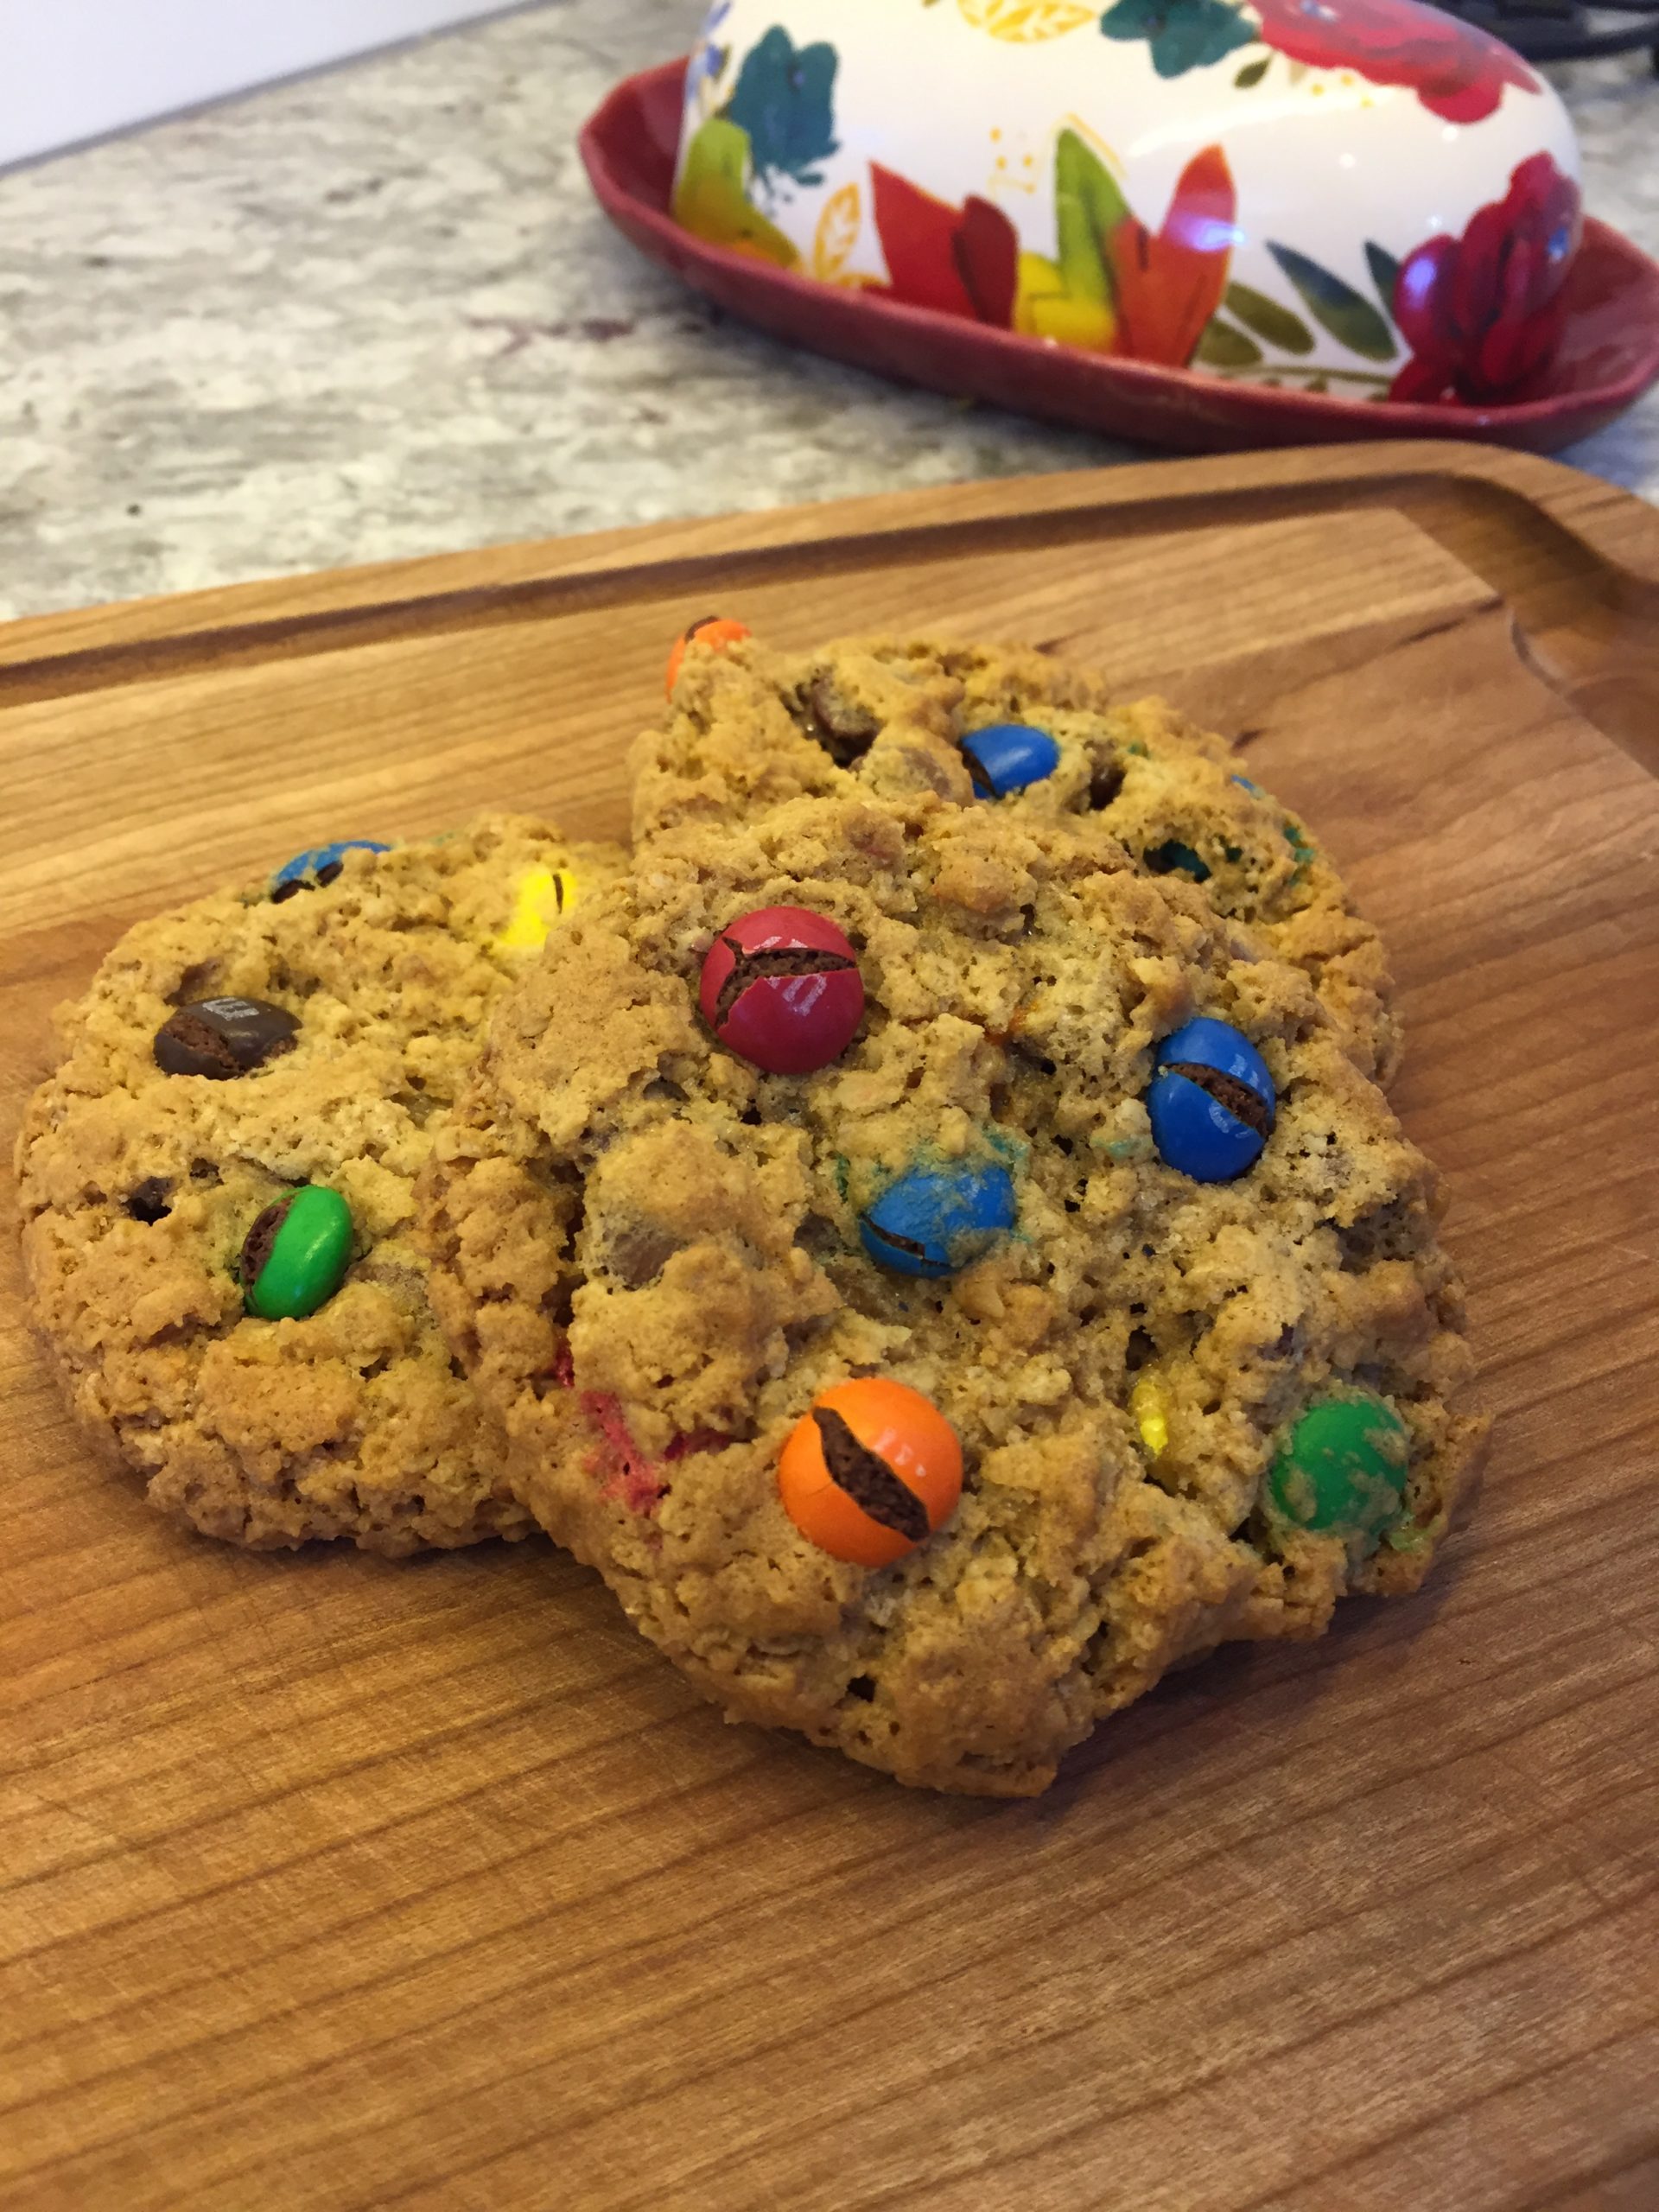
Candy canes and light bulbs were also decorated as well. (The lightbulbs we sprinkled with colored sugar to match the flood icing underneath. We made pink, blue, red and green.) And of course, we added all the other Christmas goodies I previously blogged: Pecan Tassies, Cathedral Windows, Gumdrop Cookies, Chocolate Peanut Clusters and Christmas Peanut Butter Cookies.
Have a Merry Christmas everyone! May you feel the true spirit of Christmas this holiday season and throughout 2019!